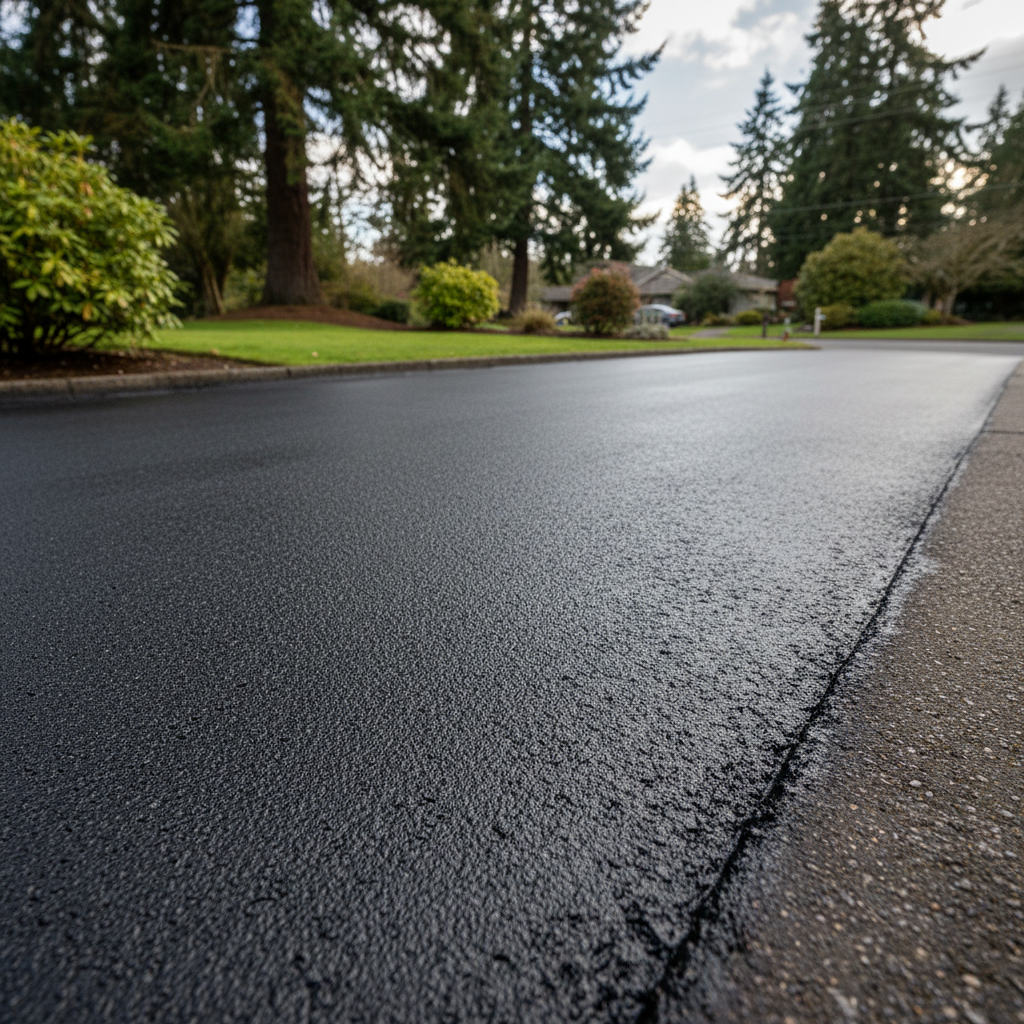
Alright, let's talk about slurry coating. You've probably seen it, maybe even wondered if it's something you could do yourself to spruce up your asphalt driveway. It's a common question I get here in Redmond, especially with our wet winters and hot summers really putting driveways through their paces.
Slurry coating isn't just about making your driveway look nice and new again, though it definitely does that. It's a protective layer, a bit like sunscreen for your asphalt, you know? It seals up tiny cracks, protects against UV rays, and helps stop water from seeping in and causing bigger problems down the line. But is it a DIY job, or should you call a pro?
Before You Even Think About Coating
First things first, you need to assess your driveway. Slurry coat isn't some miracle cure for a crumbling mess. If you've got large cracks (wider than a quarter-inch), potholes, or areas where the asphalt is really breaking up, you're looking at repairs first. Slurry coat goes over existing asphalt; it doesn't fix structural issues. Think of it as a fresh coat of paint, not a new foundation.
- Clean it up: You absolutely have to clean your driveway thoroughly. And I mean *thoroughly*. Power wash it to get rid of all the dirt, moss, oil stains, and loose debris. If you don't, the slurry won't stick, and you'll have wasted your time and money. For oil spots, you'll need a degreaser and a stiff brush. Rinse it completely.
- Patching: Any significant cracks or small potholes need to be filled and allowed to cure. You can find asphalt crack filler and cold patch at most hardware stores. Follow the directions carefully. This is definitely a DIY task you can handle.
- Edging: Clear away any grass or weeds growing along the edges of your driveway. You want a clean line for your coating.
- Weather is key: This is huge, especially around here. You need at least 24-48 hours of dry weather with temperatures consistently above 50°F (and not dropping too low overnight). Trying to slurry coat when it's damp or too cold is just asking for trouble. It won't cure right, and you'll end up with a sticky mess or a coating that peels. Given our typical spring and fall drizzles, picking the right window can be tricky.
The DIY Slurry Coating Process: What You're Getting Into
Okay, so you've prepped, and the weather's looking good. Can you do the coating yourself? For smaller, relatively flat driveways in good condition, yes, you probably can. But it's hard work, and it's messy.
- Materials: You'll need the slurry coating itself (check coverage rates carefully), a good quality squeegee or asphalt sealer brush, safety gear (gloves, old clothes, eye protection), and possibly some painter's tape to protect adjacent surfaces.
- Application: You'll typically pour a manageable amount of slurry onto the driveway and spread it evenly with the squeegee. Work in small sections, making sure to get a consistent, thin coat. Don't go too thick; that's a common mistake that leads to cracking and peeling. Overlap your passes slightly.
- Multiple Coats: Most products recommend two thin coats, allowing the first to fully dry (usually 4-8 hours, depending on humidity and temperature) before applying the second. Patience is key here.
- Curing Time: After the final coat, you need to stay off it. Like, really stay off it. No driving or heavy foot traffic for at least 24-48 hours, sometimes longer. You don't want tire marks or footprints ruining your hard work.
When to Call Aim High Paving Solutions
Here's the honest truth: while you *can* DIY a small, simple driveway, there are plenty of times it makes more sense to call in a professional. And that's not just me saying that because I run Aim High Paving Solutions.
- Large or Complex Driveways: If your driveway is big, has steep slopes, multiple turns, or intricate edging, a DIY job becomes exponentially harder and more time-consuming. Getting a consistent finish on a large area is tough for an amateur.
- Significant Damage: If you've got widespread cracking, alligator cracking, or areas that are really deteriorated, you need more than just a slurry coat. You might need patching, crack filling, or even an overlay before coating. Pros have the right equipment and materials for these more extensive repairs.
- Time and Effort: This isn't a quick Saturday afternoon job. Between cleaning, patching, applying two coats, and waiting for cure times, you're looking at a multi-day project. If you don't have the time or the physical ability for strenuous work, hiring it out is a smart move.
- Guaranteed Results: A professional paving company has the experience, the right tools, and often commercial-grade materials that aren't available to the average homeowner. We know how to handle different asphalt conditions, and we can guarantee a smooth, even, and durable finish. Plus, if something goes wrong, it's on us, not you.
- Specialized Needs: Maybe your driveway is in a shaded area that gets a lot of moss, a common issue in some of Redmond's older, tree-lined neighborhoods. Or perhaps you've got drainage issues that need to be addressed before coating. A pro can spot these things and offer solutions.
After the Job is Done
Whether you DIY or hire us, once your driveway is coated and fully cured, you'll want to take care of it. Keep it clean, address any new cracks as they appear, and avoid parking heavy equipment on it for extended periods. A good slurry coat should last you several years, protecting your investment and keeping your property looking sharp.
So, take a good look at your driveway, consider the effort involved, and decide what's right for you. If you're leaning towards professional help, give us a call at Aim High Paving Solutions. We're happy to give you an honest assessment and a quote.